So You Bought a Smoker
Congratulations. You just made the best and most confusing purchase of your cooking life. A smoker is not like a grill — you cannot just turn it on, throw a steak at it, and walk away. It takes patience, attention, and a genuine appreciation for the fact that time is the most important ingredient in BBQ. This guide is the one we wish existed when we started.
Pro Tip
Before you smoke a single thing, do a seasoning burn. Run the smoker empty at 275°F for two hours. This burns off any manufacturing residue and forms a protective seasoning layer inside the cook chamber. Skip this and your first brisket will taste like the factory floor.
Choosing Your Smoker Type
Offset Smoker
The classic. Fire lives in a separate firebox, smoke travels through the cook chamber. Best flavor of the three. Steepest learning curve. Needs constant attention. Worth every minute if you enjoy the process as much as the result.
Pellet Grill
Digital temperature control with an auger that feeds wood pellets automatically. Set it and step away. Great for beginners who want consistency. The smoke flavor is milder than offset — purists complain, but they are still eating great BBQ.
Kettle Grill
You probably already own this. A Weber kettle can absolutely function as a smoker using the Minion Method. Best entry point if you want to test your obsession before investing in dedicated hardware.
Temperature Is Everything
Low and slow means 225–250°F for most long cooks. This range gives collagen in tougher cuts the time to break down into gelatin — the magic behind a brisket or pork shoulder that pulls apart with no effort. Go too hot and you are just roasting something in a smoke-scented box. Not the same. Not even close.
Your First Smoke, Step by Step
- 01
01:Season the Smoker First
Run it empty at 275°F for two hours with a light coat of cooking spray on the interior surfaces. This is the seasoning burn. It protects the metal and starts building flavor into the steel itself.
- 02
02:Choose the right wood
Match wood to protein. Hickory and oak for beef. Apple and cherry for pork and poultry. Mesquite is bold — use sparingly unless you want every bite to taste like a Texas roadhouse. Start with one variety to learn its personality before blending.
- 03
03:Come to temperature before adding the meat
Light the fire and wait until the smoker is fully stabilized at your target temp before any protein goes in. Adding food to a cold or swinging smoker is one of the most common beginner mistakes. Patience here pays directly into the flavor.
- 04
04:Close the lid and leave it
Seriously. Every time you open the lid you lose 15–20 minutes of cook progress. "If you're lookin', you ain't cookin'" is a cliché because it is simply true.
- 05
05:Rest before you slice
After pulling from the smoker, rest large cuts for at least 30–45 minutes loosely tented with foil. The juices redistribute. Internal temp continues to rise. Slice too early and all of that hard-earned moisture pours out onto the cutting board instead of into your mouth.
“The grill is not just where dinner happens. It is where patience becomes a skill and fire becomes a language.”
— Mark Anderson, The Grill Dads
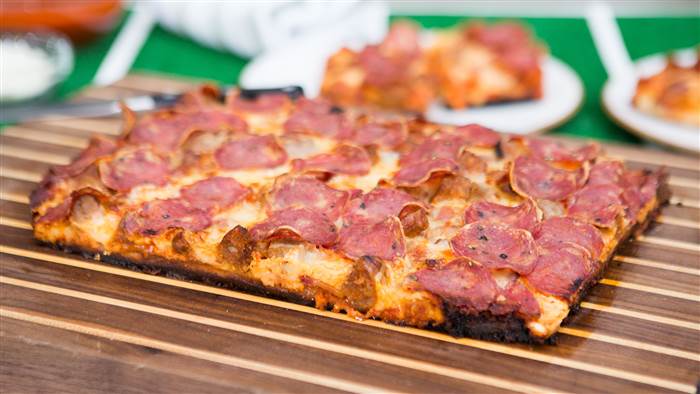
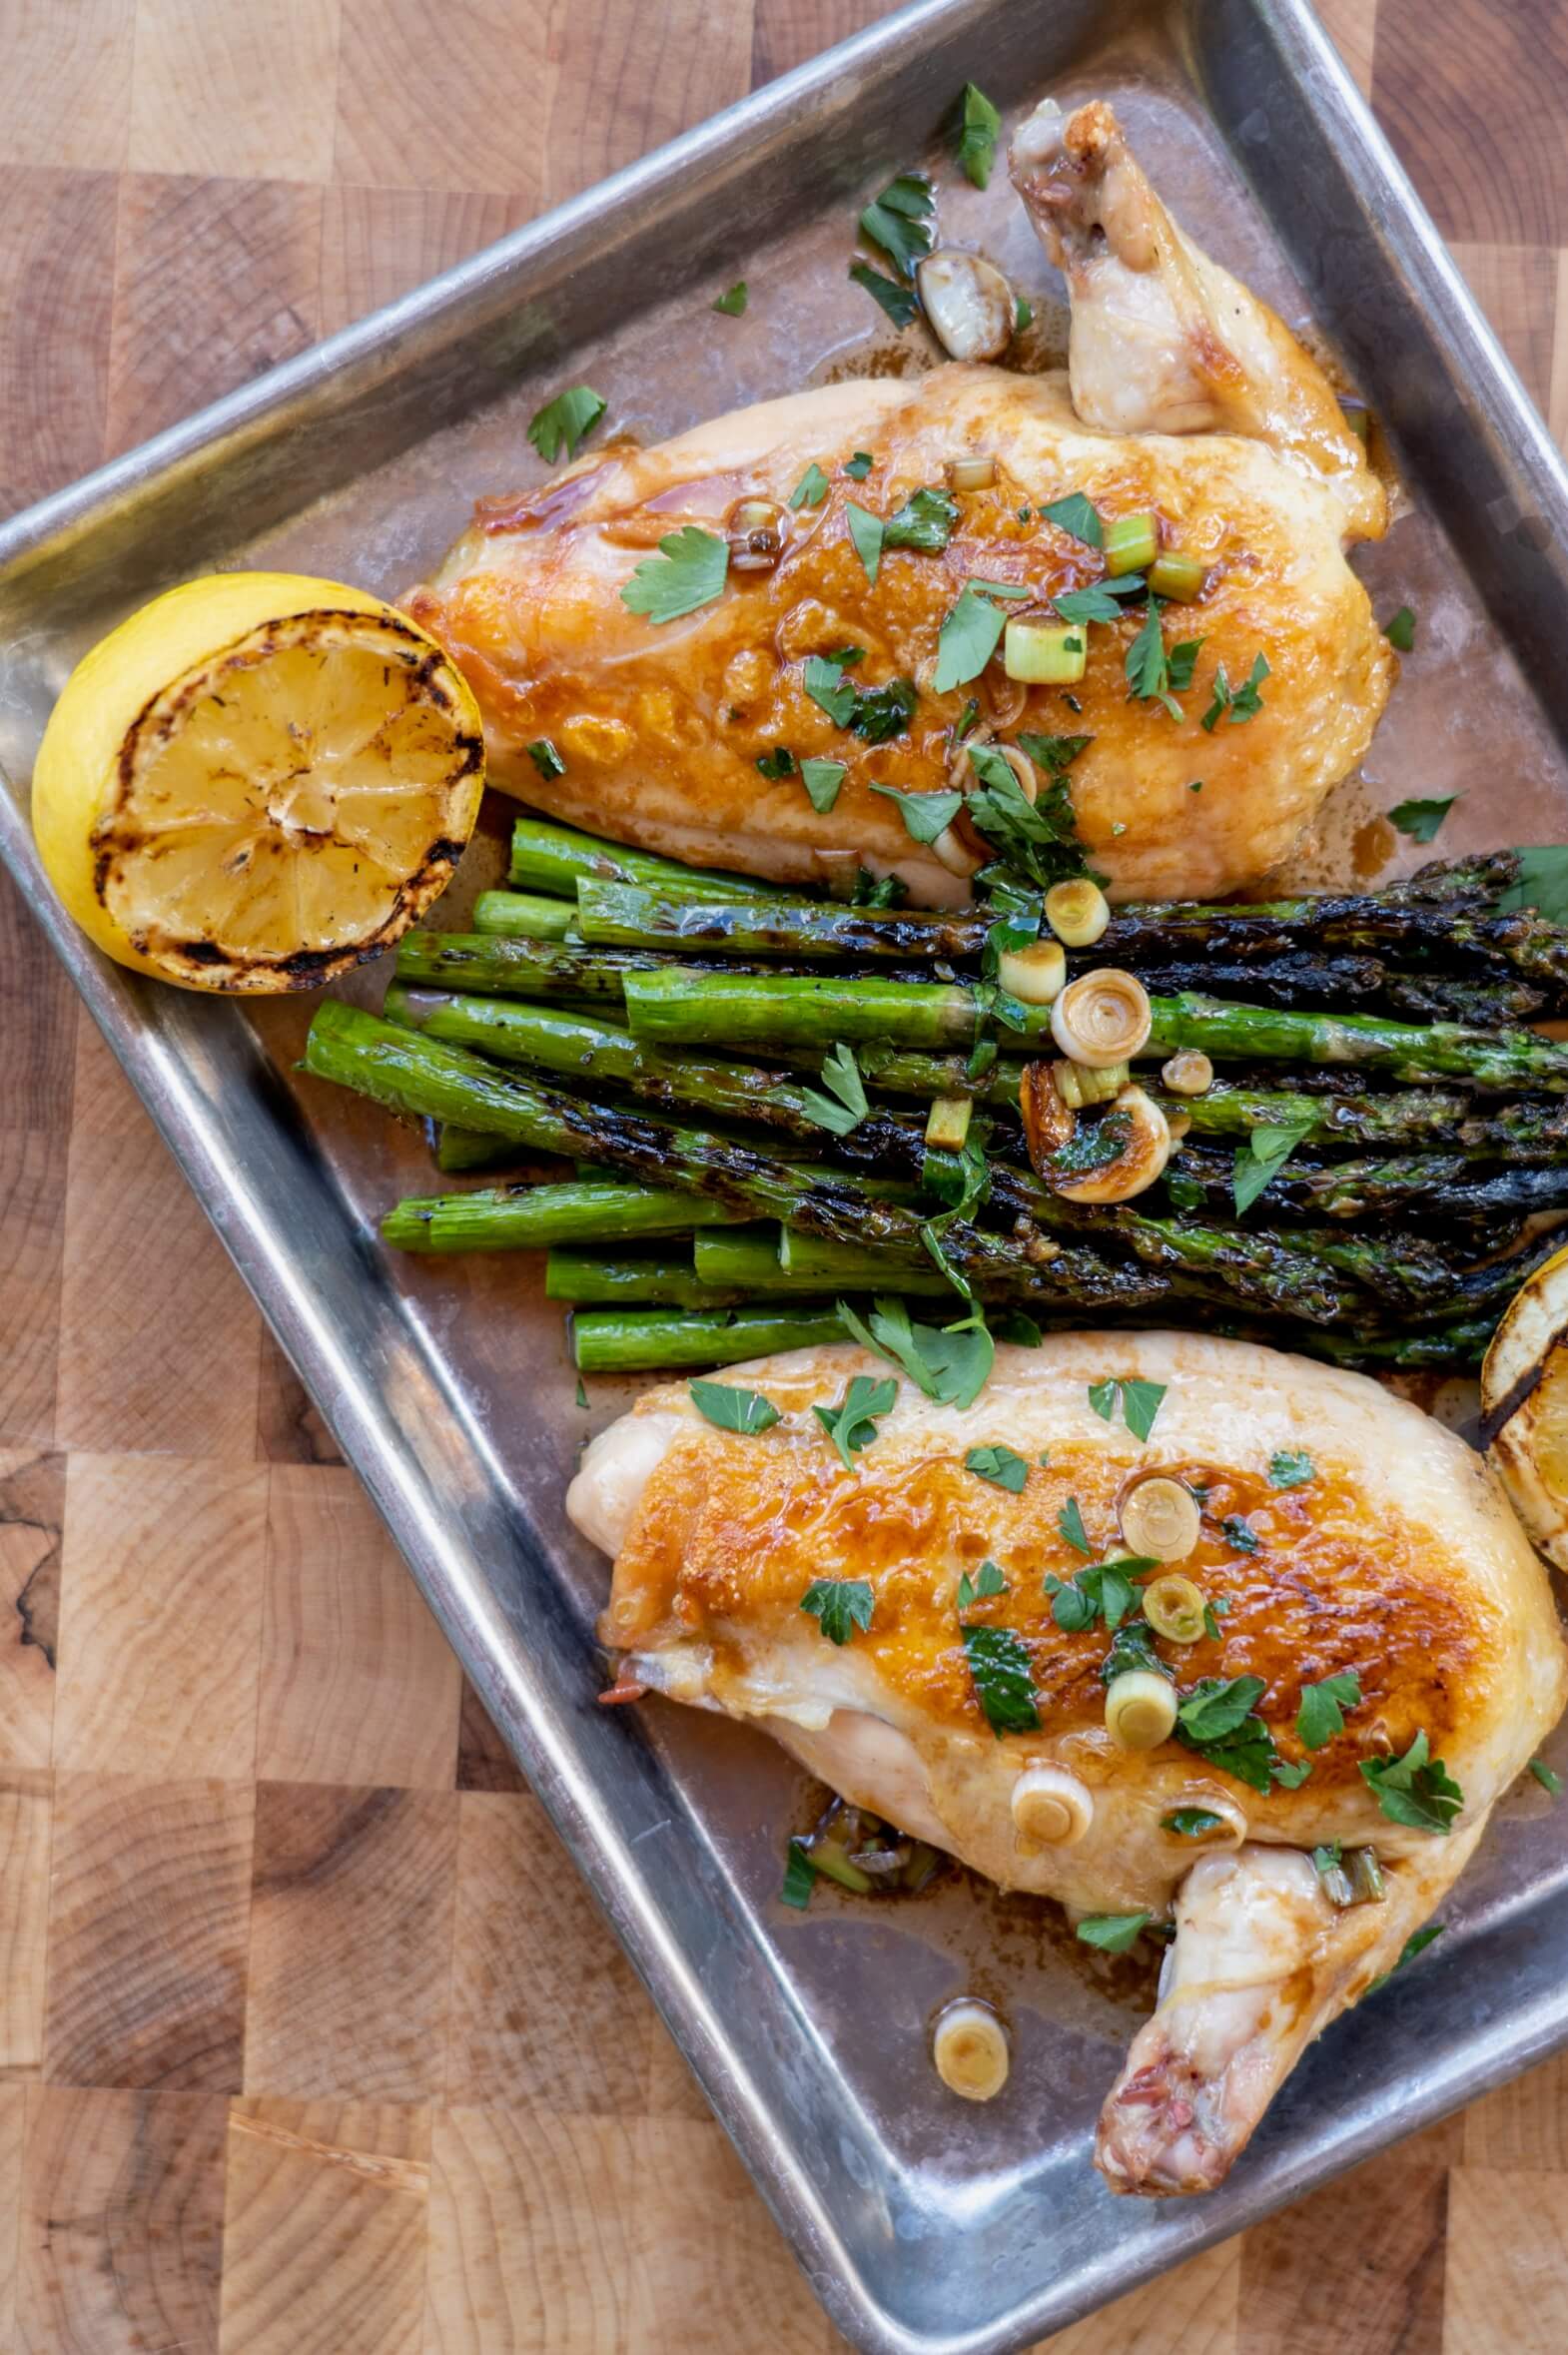
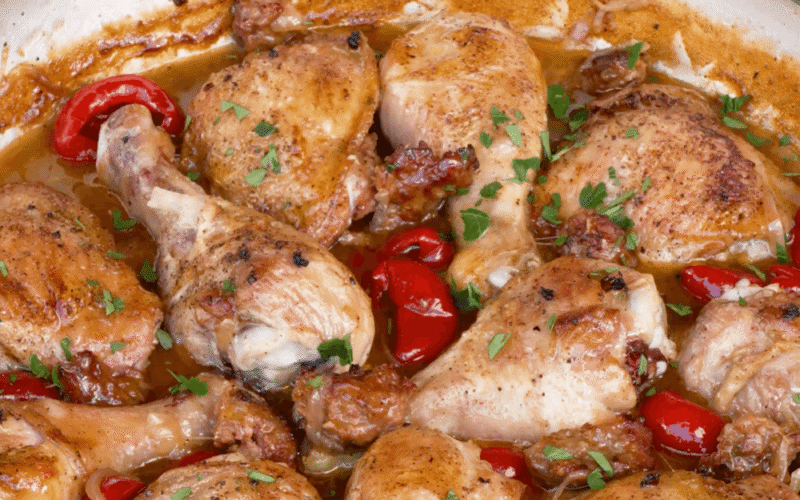
Prime Rib
Jalapeno Popper
Wings
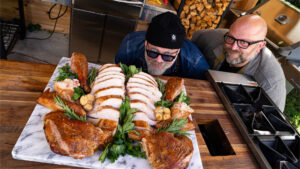
Gallery Caption
Caption here
Safety
Never run a smoker in a garage, on an enclosed porch, or indoors. Carbon monoxide is odorless and invisible. Keep the smoker at least 10 feet from any structure. Have a fire extinguisher within reach. Know where your gas shut-off is. Great BBQ is not worth a house fire.
Subheading here